_______________________________________________
September 2, 2008
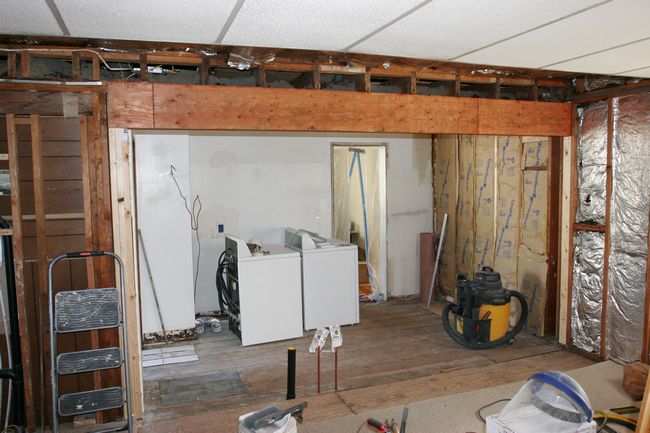
| There was an addition to the house in the late 60's that added a family room right behind the kitchen. To do this, they removed the exterior wall and put in a large beam to support the upstairs floor and roof. We weren't sure whether the beam was big enough for the load, so while having some calculations done by a structural enginner for the dormer we plan to add later, we asked about this beam. Turns out it was not strong enough for the changes we plan to make upstairs, so we needed to take it out and put in a bigger beam. It went pretty smoothly, despite just having the two of us to install a 180 lb. beam. |
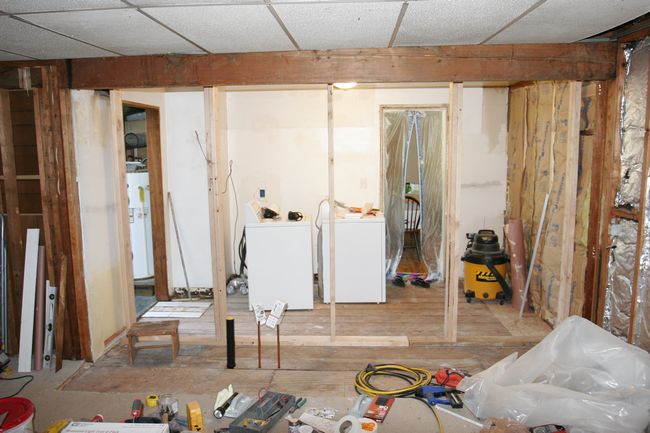
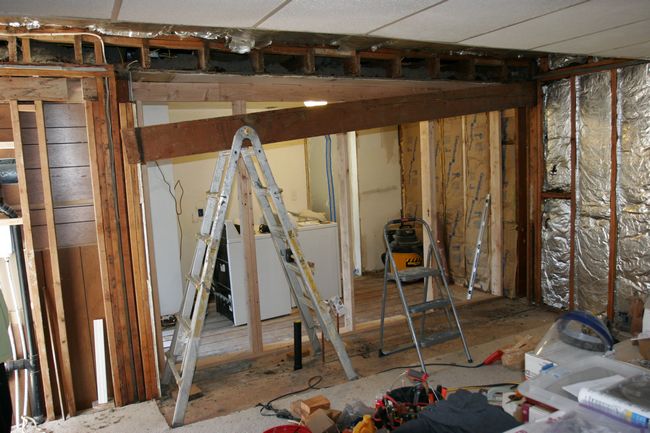
Here's a picture of the beam from the family room looking into the kitchen. In the kitchen you can see the temporary support we built to hold the upstairs floor joists while we replaced the beam.
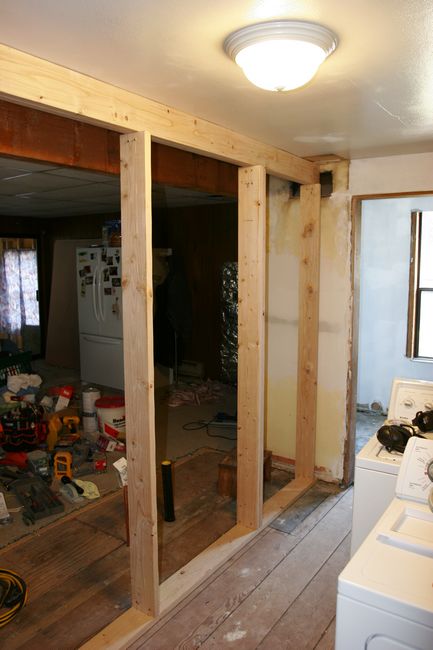
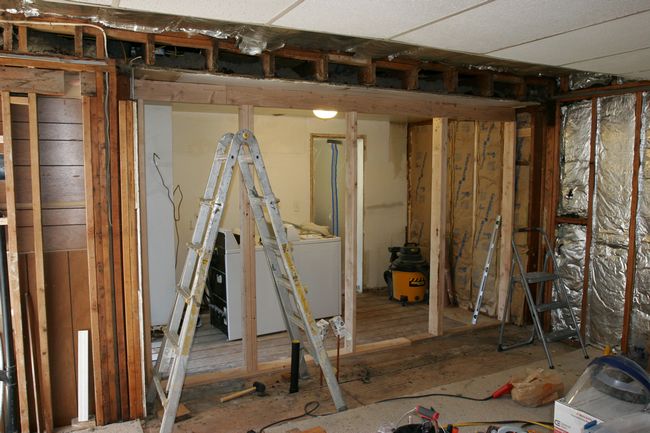
Here's a shot of the temporary support from the kitchen, and the
beam to be replaced behind it (the darker wood).
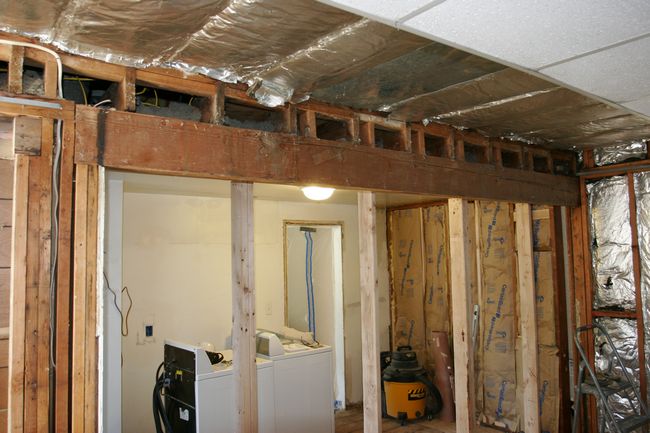
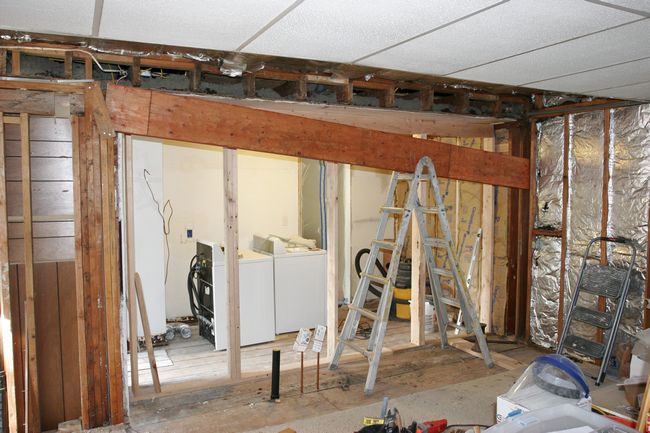
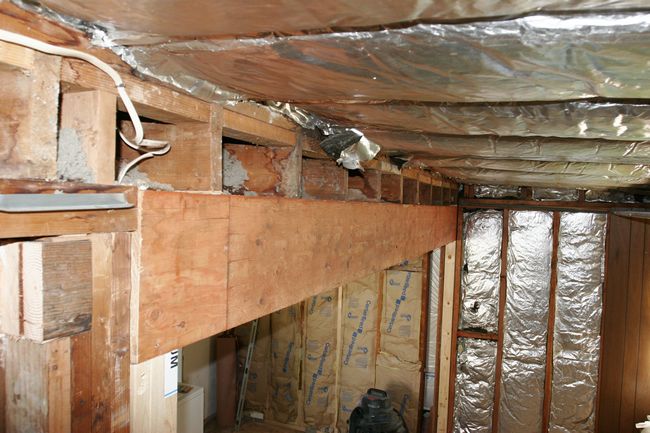
A closer shot of the beam after we took some panels out of the drop ceiling in the family room. Turns out only 4 out of the 10 joists were actually resting on the beam. I'm not sure what was holding the other 6 up...
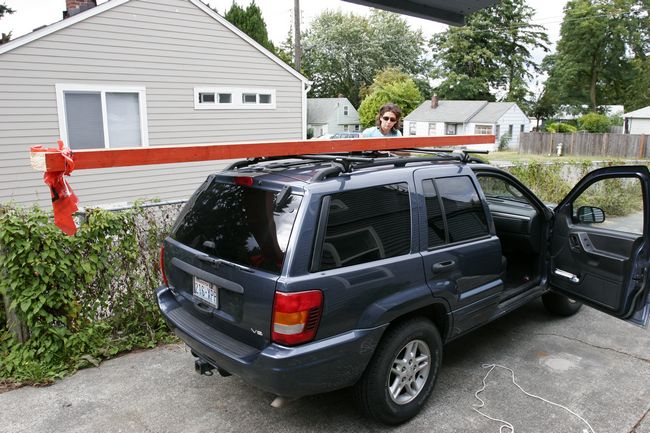
Looks like I need a truck with a rack so I don't have to do this again...
One end of the old beam down and resting on a ladder.
The old beam is out now. Time to bring the new one in.
The new beam resting on a temprary support on the left, and on the ladder on the right. We had to replace the posts that hold the beam up too.
We used a heavy duty jack to raise the beam to the right height
at each end so that it would actually be supporting the joists
above it. After getting the beam to the right height, we cut the
triple 2x4 posts and installed them.
The new beam and support posts finished and the temporary support removed.
Now all but two of the joists rest on the beam as they should. We shimmed the other two so that they wouldn't sag later.